Tiki Hut Bump-Out: What It Is, When to Use It, and How It’s Framed
A bump-out is a deliberate canopy extension that pushes the roof past the main beam line. It’s framed by setting outriggers on top of the beam and then laying rafters on top of those outriggers. Unlike a standard ~1′ eave, a bump-out provides meaningful shade and headroom right where it’s needed—without moving posts.
Quick Definition
- Purpose: extend the roof canopy beyond the beam to gain usable space and shade.
- How it’s framed: beam → outriggers (cantilevered members) → rafters → 3×4 purlins → thatch.
- Typical reach: roughly 2′–6′ beyond the normal eave (final length by engineering and wind exposure).
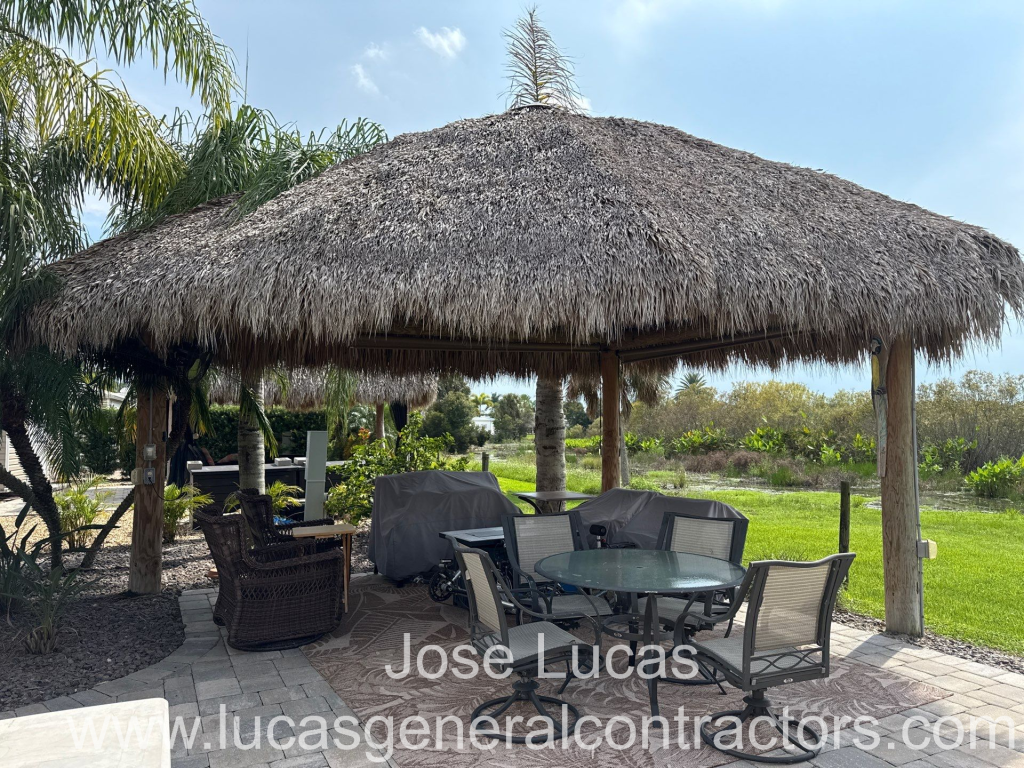
- Finish: natural or synthetic thatch; drip control at the new edge as needed.
Where a Bump-Out Helps
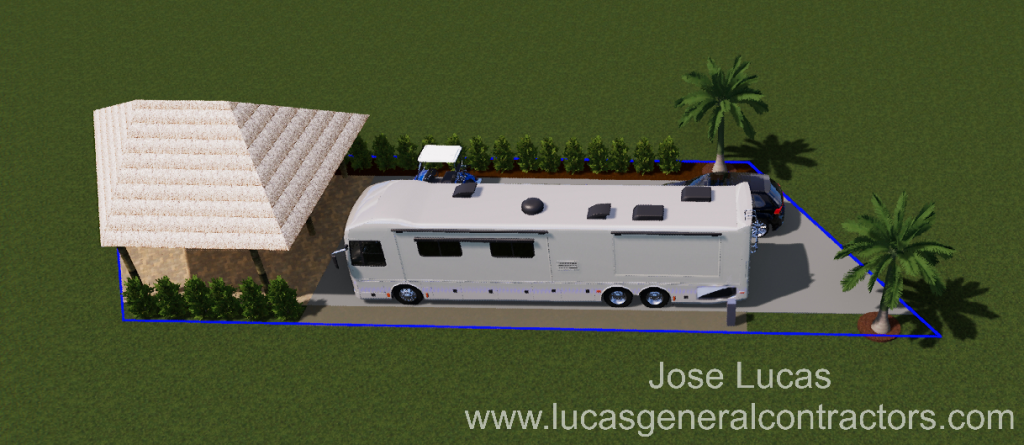
- Walkway clearance: keeps posts out of traffic lanes while delivering shade to the edge of patios, pools, or RV pads.
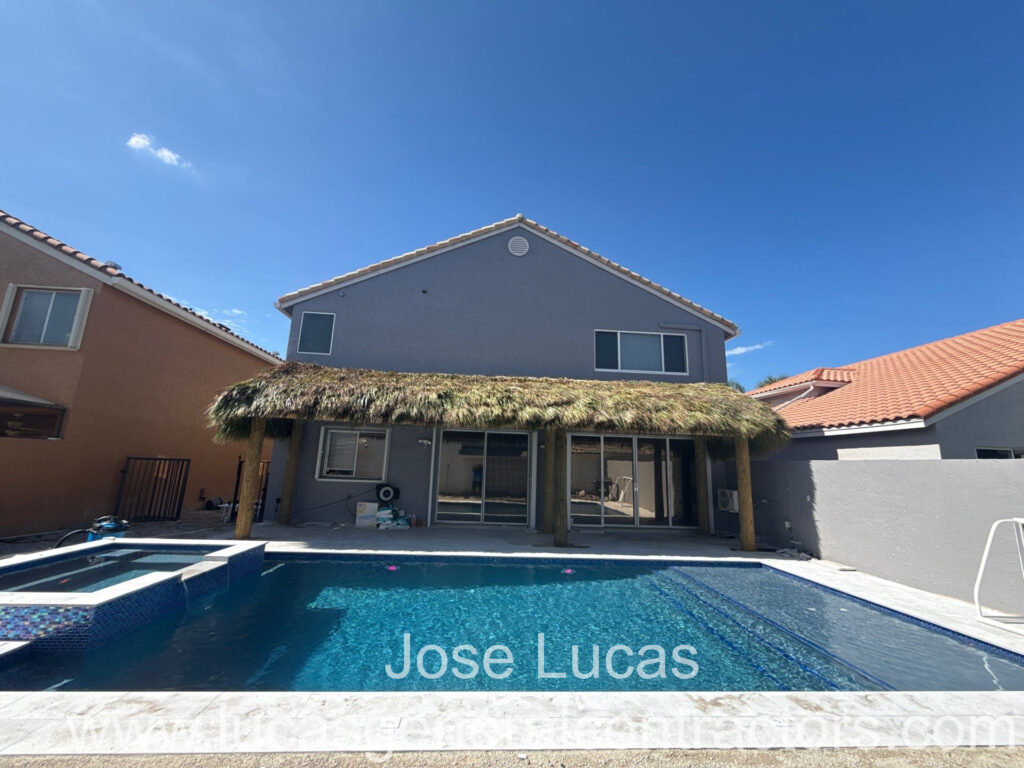
- Seating & bar edges: shifts the drip line away from stools and counters for a drier, more comfortable perimeter.
- Tight sites: adds functional square footage where moving posts isn’t practical (hardscape, planters, setbacks).
- View lines: maintains open views by extending canopy rather than relocating structure.
Framing Basics (Concept)
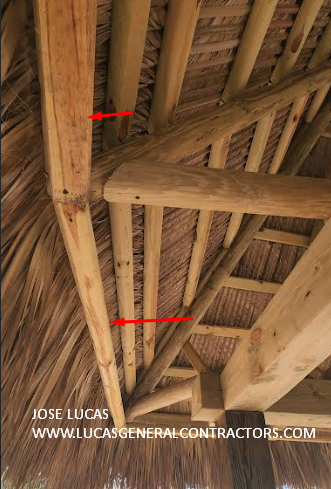
- Outriggers: sit on top of the main beam and project outward; spacing generally follows rafter spacing.
- Rafters: bear on the outriggers; purlins (often 3×4 timbers) fasten above for thatch support.
- Hardware: exterior structural screws/bolts and galvanized connectors; uplift ties at critical points.
- Materials: Common timber sets include pressure-treated posts/beams (e.g., 8″–12″), round rafters (≈4–5″), and 3×4 purlins; thatch as specified.
Sizing Guidance (Rule-of-Thumb)
Final spans and cantilevers are engineered, but a practical planning range for bump-outs is 2′–6′.
Many timber designs observe cantilever/back-span ratios on the order of 1:1 to 1.5:1 (out-to-in) depending on member size,
connections, and exposure. A licensed professional confirms all dimensions and connections for the site.
Design Notes
- Wind & uplift: bump-outs move the drip line and collect more wind; connector schedule and tie-downs increase accordingly.
- Drainage: manage the new edge with ridge/eave detailing and drip control so water sheds away from seating.
- Lighting & accessories: complete the framing and thatch first; then a licensed electrician routes wiring and mounts fixtures to the framing (not through the thatch) using code-compliant surface raceways or concealed paths where appropriate.
- Finish choice: Natural thatch delivers the classic look; synthetic thatch increases longevity at exposed edges.
Half-Hex (Semi-Round) vs. Square Bump-Outs
- Half-hex / semi-round bump-out: outriggers step at angles to form a shallow arc. With thatch installed, the edge reads rounded
(often “half-moon”). The faceted geometry spreads the cantilever, usually needs shorter individual outriggers at each facet, and has
less continuous straight-edge thatch to dress—typically the most cost-efficient way to add a rounded canopy. - Square bump-out: a continuous straight projection along the run. To achieve the same perceived reach, it often requires
longer outriggers, more linear footage of 3×4 purlins and drip edge, and extra time to finish the long straight thatch edge—generally more labor and cost than a comparable half-hex. - Which to choose? Half-hex is usually the value choice for a rounded look; square is preferred when aligning to rectilinear patios,
counters, or future infill, accepting the added labor and material.
Cost & Scope Impact—Why Bump-Outs Price Higher
- More area to cover: a bump-out increases canopy square footage, not just edge length.
- More timber & connectors: additional outriggers, longer rafters, extra 3×4 purlins, and heavier uplift hardware at the cantilever line.
- Edge detailing: more linear footage of thatch edge, drip control, and ridge/hip transitions.
- Layout & labor: long straight-run edges (square bump-outs) add thatch LF, rafter/purlin length, and finishing time; half-hex facets are often faster and more material-efficient for the same apparent reach.
Quick Area Example
Assume posts at 10′ × 20′. A standard ~1′ eave yields a canopy about 12′ × 22′.
Add a square bump-out (≈3′ concept) and the canopy grows to roughly 16′ × 26′.
| Stage | Plan Size | Area (sq ft) |
|---|---|---|
| Inside posts | 10′ × 20′ | 200 |
| With ~1′ eave (no bump-out) | 12′ × 22′ | 264 |
| With square bump-out (concept) | 16′ × 26′ | 416 |
That is a canopy increase of +152 sq ft over the standard eave version, and +216 sq ft over the inside-post footprint—so it’s normal for pricing to rise significantly. Depending on methods and exposure, full-perimeter bump-out can approach near-double cost relative to a simple eave hut of the same post footprint.
Performance & Safety
- Engineered cantilever: outriggers, rafter bearings, and uplift ties must be sized for the added overhang and local wind loads—even outside hurricane regions.
- Adequate member sizes: undersized posts, beams, rafters, or 3×4 purlins shorten service life and can lead to failure at the cantilever line.
- Permits & inspections: bump-outs change loads and geometry; permit/inspection keeps the detail aligned with code and stamped design.
Dimensions above are conceptual planning numbers; final spans, connections, and detailing are confirmed by your builder/engineer.
Common Variations
- Single-side bump-out: extends one eave for walkway or bar seating.
- Corner bump-out: at hip corners to widen the usable radius without moving posts.
- Continuous run: long-edge bump-out along patios, pool decks, or RV pads.
This article explains terminology and planning concepts only. It is not a sealed plan. Field-verify all dimensions and engage a licensed professional to engineer the final design for your site and wind exposure.